Installing the Virtual Try-on on your store

The Virtual Try-on is a small widget you add to your store's product pages. Shoppers upload a photo of themselves and see how the product looks on them — before they buy. Installation is one line of code, and the app guides you step by step.
Step 1: Open the Connect wizard
In the app, go to Try-on and press “Connect your store”. A three-step wizard opens.
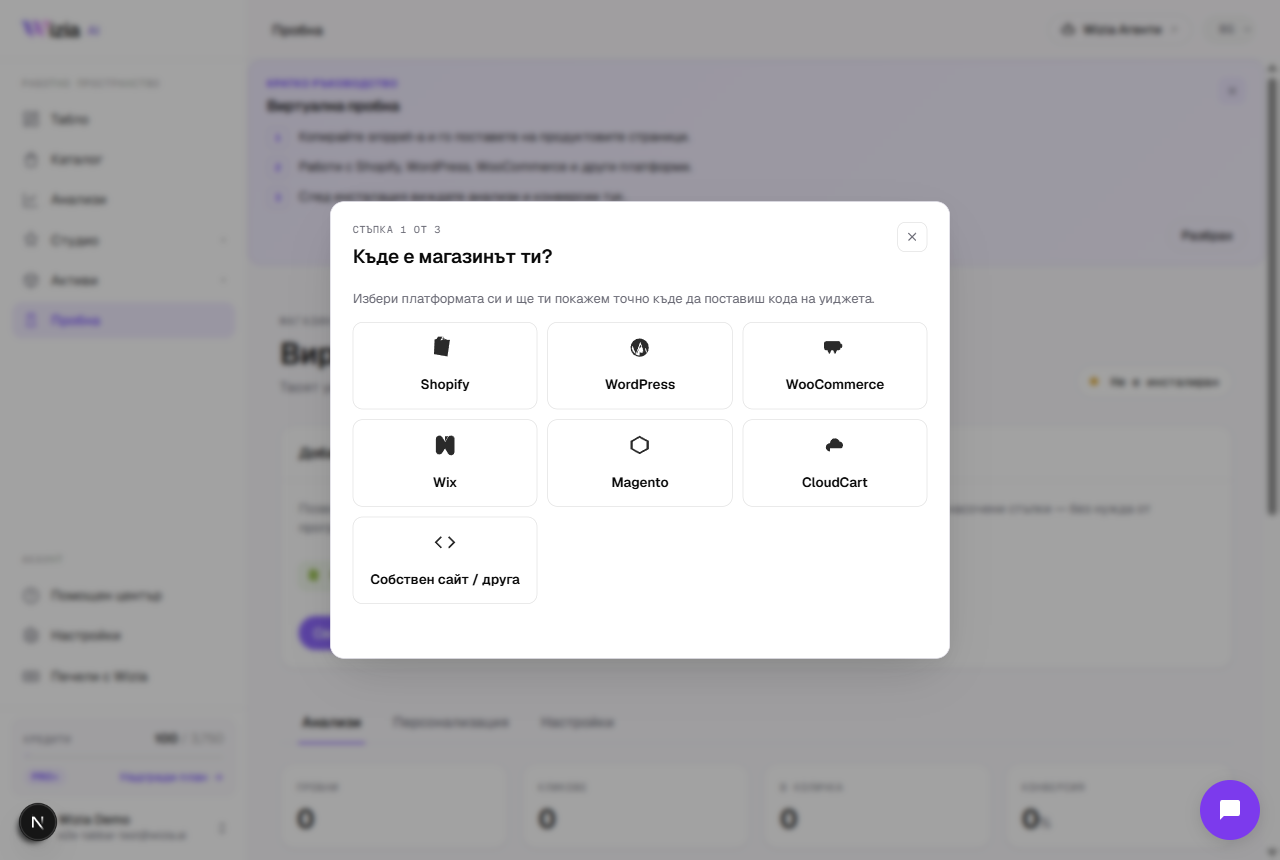
Step 2: Paste the code for your platform
- 1
Shopify
Online Store → Themes → ⋯ → Edit code → open layout/theme.liquid and paste the snippet just before the closing body tag. Click Save.
- 2
WooCommerce / WordPress
Install the free WPCode plugin (Plugins → Add New). Create a new HTML snippet with location “Site Wide Body (footer)”, paste the code, and activate it.
- 3
Wix
Settings → Custom Code → + Add Custom Code. Paste the code, apply it to All pages loading at Body — end, and save.
- 4
Magento
Content → Design → Configuration → edit your store view → Footer section → paste into “Miscellaneous HTML” and flush the cache.
- 5
CloudCart
Design → Custom code → paste the snippet into the footer scripts field, save, and publish.
- 6
Custom site
Paste the snippet just before the closing body tag on your product pages (or site-wide) and publish the change.
Step 3: Verify the connection
In the final step, enter your store URL and optionally one product page. Press “Check installation” — we load the page and confirm the widget is in place with your ID. On success, the Try-on page status flips to Active and analytics start flowing.
If the check can't find the widget, see “Why the try-on widget isn't showing”, or book a 30-minute call with our team — we'll install it together.