Exporting and uploading photos to your store
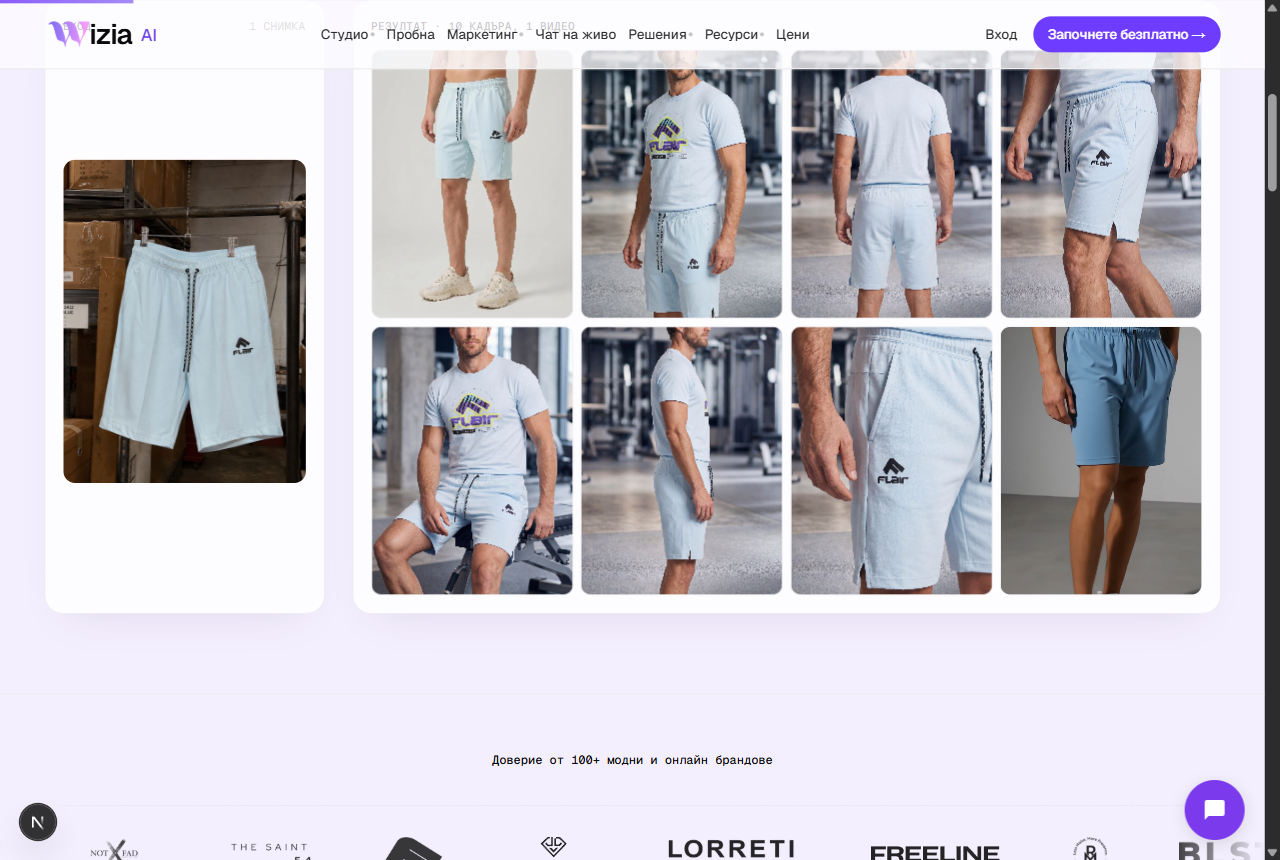
Your finished photos live in the catalog — the Products page lists every product, and each product page has Gallery, Try On, Video, and Activity tabs. From there you download the shots and upload them to your store. There is no automatic store sync — the flow is download and upload, which gives you full control over which shots go live.
Download the shots
In the product's gallery you can download each shot individually or grab them all at once as a ZIP archive with the bulk download button. Photos download at the resolution they were generated in — 1K, 2K, or 4K, depending on what you picked in the Studio form.
Uploading to Shopify
- 1
Open the product
In Shopify Admin, go to Products and open the product you generated photos for.
- 2
Add to Media
In the Media section, click Add media (or simply drag the files in) and upload the downloaded shots.
- 3
Reorder and save
Drag your strongest shot to the first position — it becomes the product's main image. Click Save.
Uploading to WooCommerce
- 1
Edit the product
In the WordPress admin, go to Products and open the product for editing.
- 2
Main image
In the Product image panel on the right, click Set product image and upload the lead shot.
- 3
Gallery
In the Product gallery panel, click Add product gallery images, upload the remaining shots, and click Update.
Use the video too
From the product's Video tab you can create a short AI video (35 credits). Download it and post it as an Instagram Reel, on TikTok, or upload it into the product's media on Shopify — a moving shot stops the scroll better than a static photo.