Uploading product photos for the best results
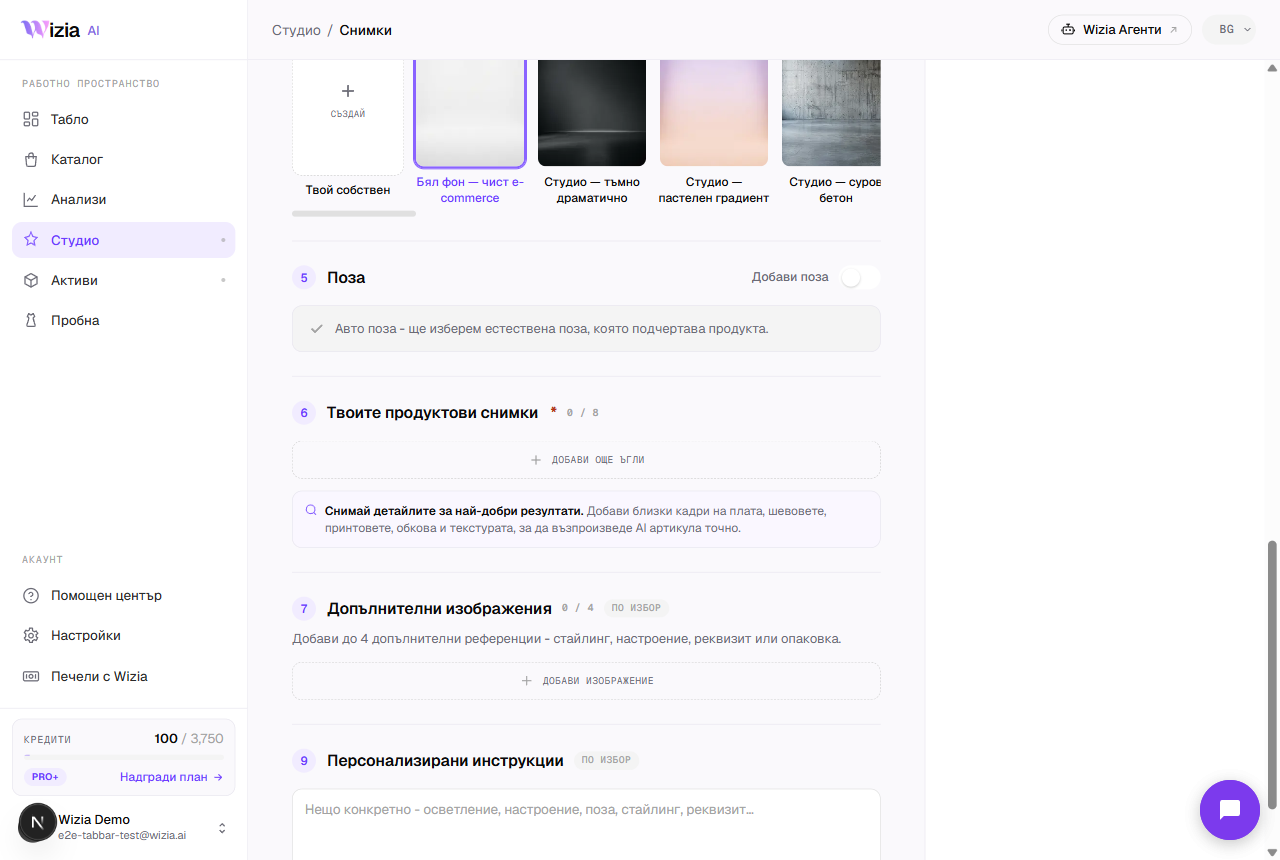
Generated shots are built on your photos — the AI copies exactly what it sees: color, cut, fabric, details. A few minutes of care while shooting saves regenerations later. You don't need professional gear — a phone is perfectly fine.
The five rules of a good product photo
- 1
Good light
Shoot in daylight next to a window or outside in the shade. Avoid yellow artificial lighting and harsh shadows across the product.
- 2
Plain background
A single-color wall, a white sheet, or a clean floor. The less noise around the product, the more precisely the AI separates the item from the background.
- 3
Whole product in frame
Don't crop off sleeves, trouser legs, or soles. The AI cannot invent the missing part — and if it does, it won't be accurate.
- 4
No heavy filters
Skip filters and aggressive editing. Shifted color and contrast carry over into the generated shots — your customer would see a product in the wrong color.
- 5
Several angles
Upload a front, back, and side photo, plus close-ups of fabric, seams, prints, and hardware. Detail shots make the biggest difference on complex items.
Formats and technical requirements
We accept JPG, PNG, WebP, and HEIC (the iPhone default). Shoot at your phone's normal resolution — there is no need to compress or resize files beforehand.

If the result still doesn't match the product, check your photos against the list above and upload better ones first — that helps more than repeated regenerations from the same source shots.