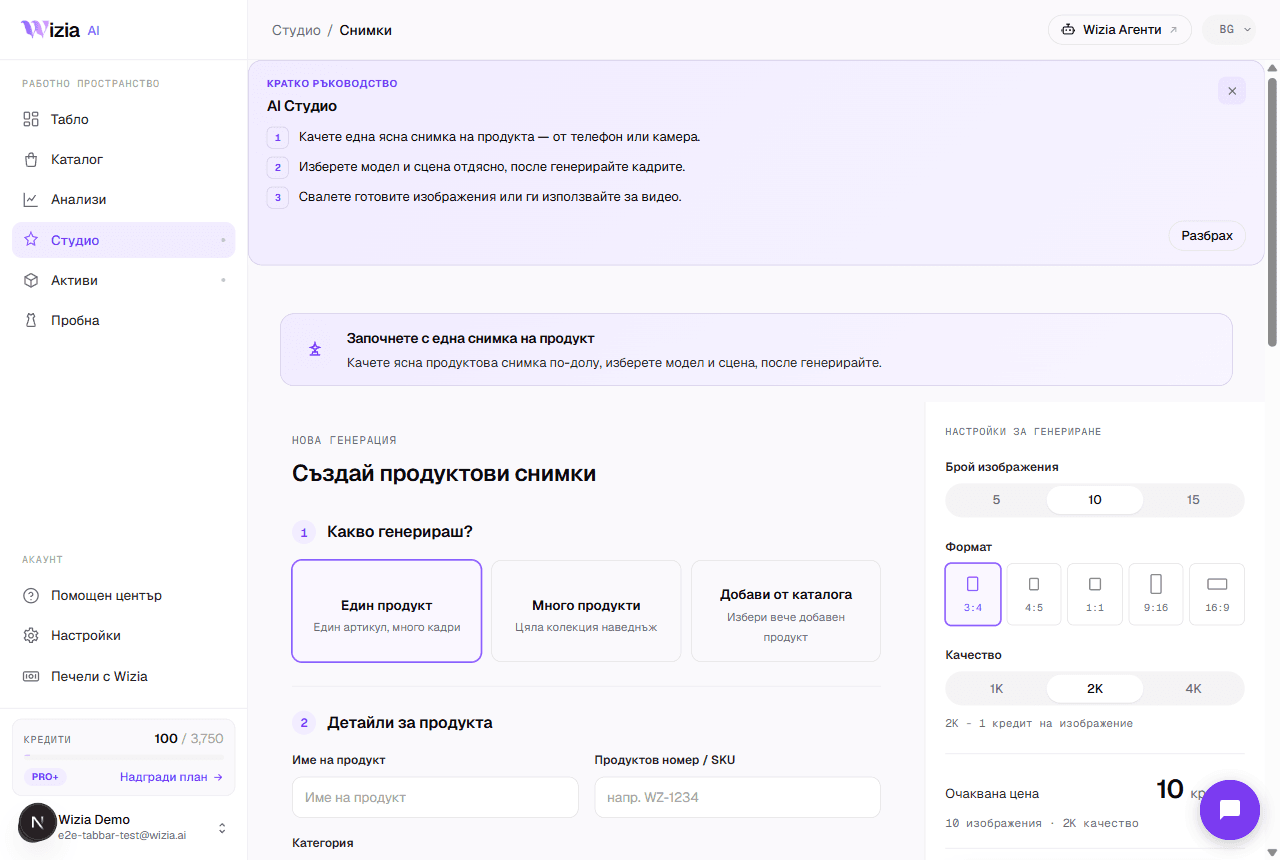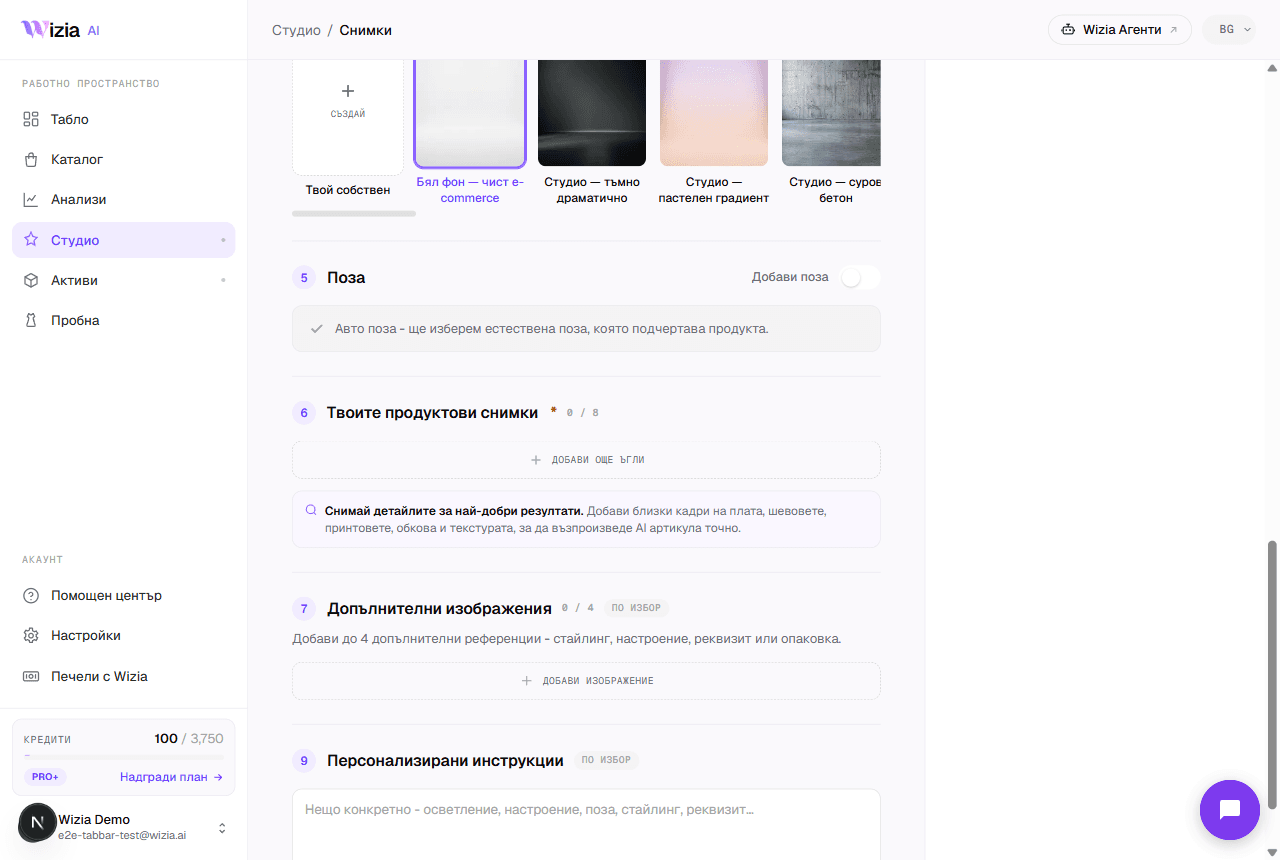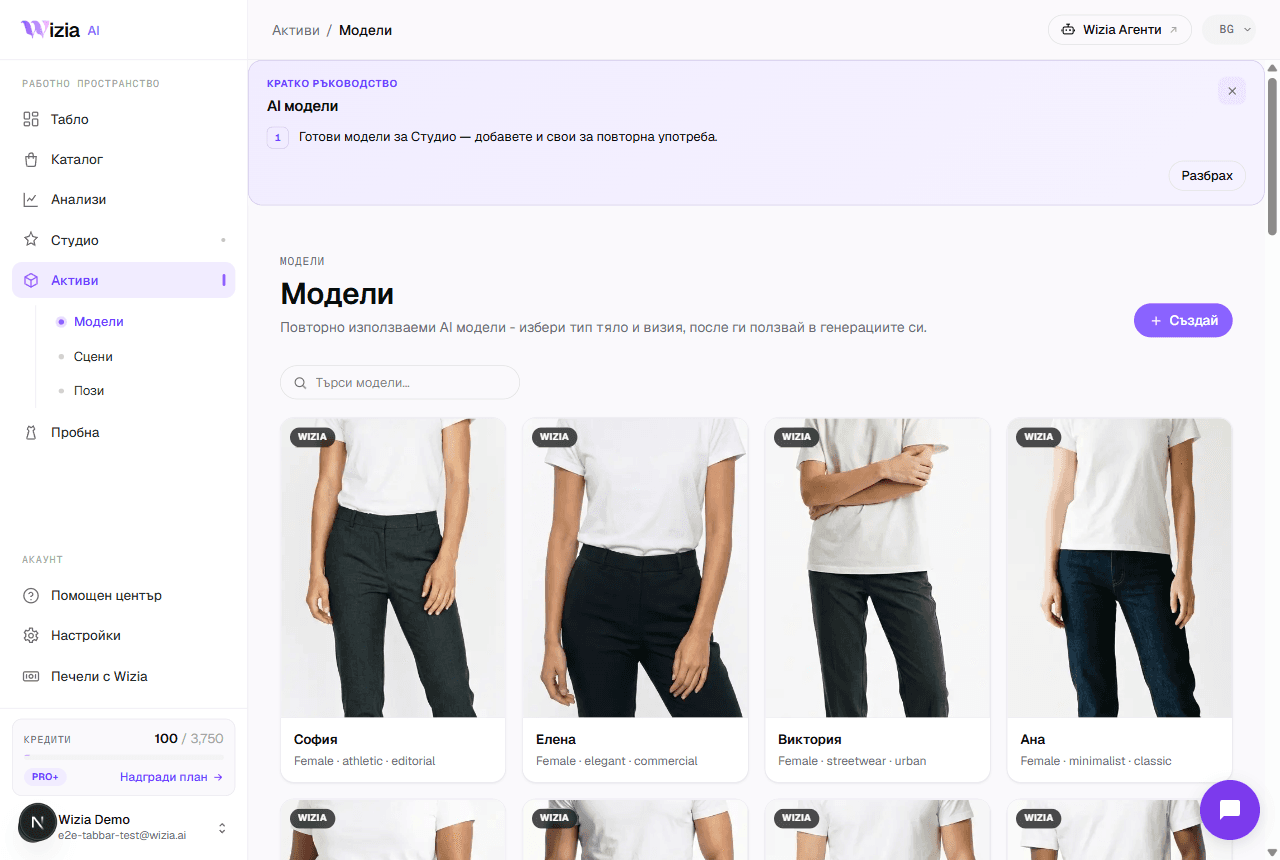
Beyond the built-in library, you can create your own models, scenes, and poses, so every photo of your brand uses the same face, the same setting, and a consistent style. Custom assets are available on the Pro+, Business, and Enterprise plans.
Where to create them
In the menu, under Assets, you'll find the Models, Scenes, and Poses pages. Each shows your available assets and a button to create a new one. You can also start the creator directly from the Studio form, without leaving your generation.
The two-step wizard
Step 1: Describe the asset
Give it a name and a description in English: for a model: looks, hair, skin tone, build; for a scene: setting and light; for a pose: body position and camera angle. The more specific, the more predictable the result.
Step 2: Generate a preview
Press “Generate preview” and see what the asset looks like. You don't have to accept the first attempt: adjust the description and press Regenerate until you like the result.
Save
Press Save: the asset appears in your library, and the preview becomes its thumbnail. From then on you can select it in any Studio generation.
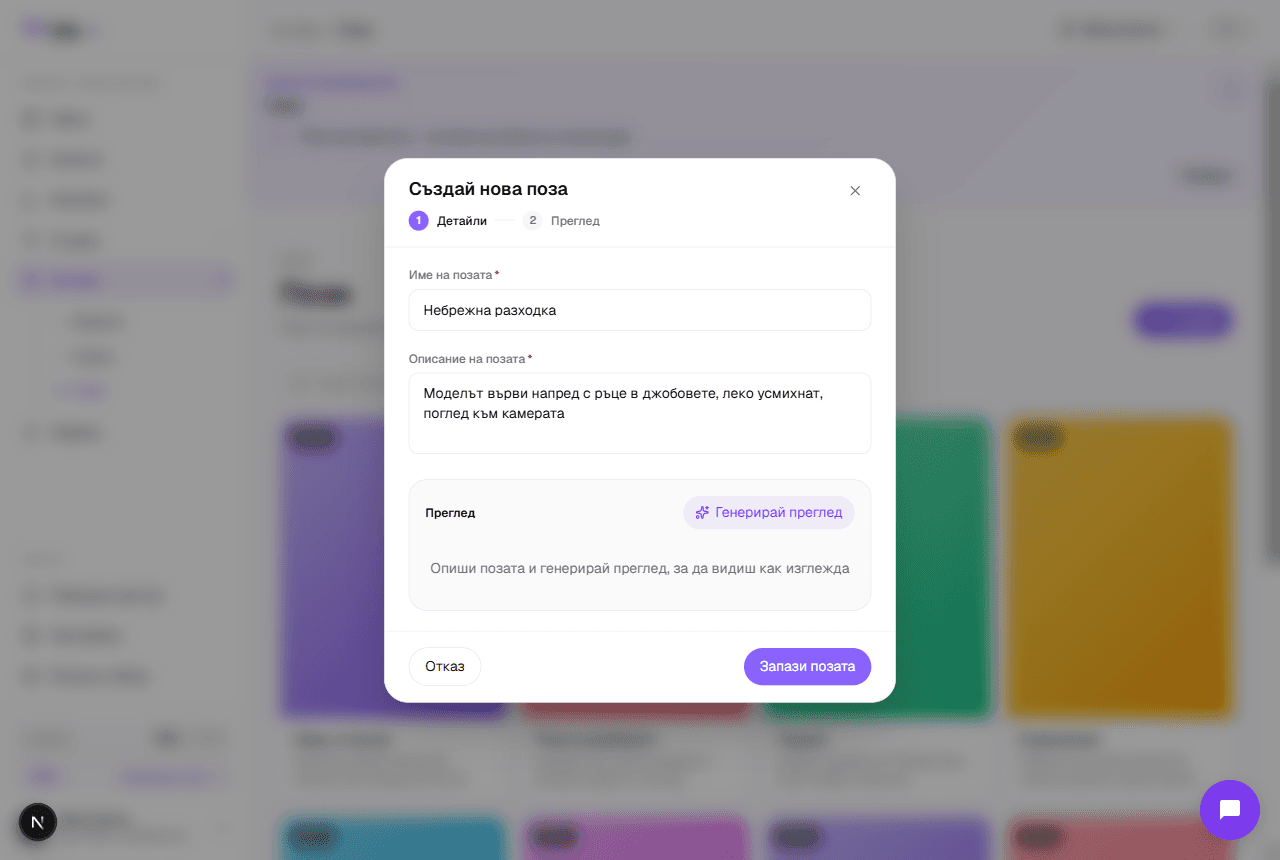
Sfat: Write descriptions in English: the AI understands them most precisely. Pose example: “standing, hands in pockets, three-quarter angle, looking at camera”.
When a custom asset pays off
A custom model keeps one recognizable face across all your products. A custom scene reproduces your brand's aesthetic (say, always warm daylight and a concrete wall. A custom pose helps when the category demands a specific presentation) a profile view for shoes, or a back view for backpacks. If you're on a lower plan, you'll see an upgrade prompt when you try to create one.